A effective Kawakawa balm recipe creates a versatile healing salve to use at Home by infusing the leaves of the native New Zealand Piper excelsum tree into a carrier oil, then setting it with beeswax. To make it, you must slowly steep harvested leaves in oil (like olive or sweet almond) to extract the active anti-inflammatory compounds, strain the plant material, and melt in beeswax at a ratio of approximately 30g of wax per cup of oil.
Understanding Kawakawa: The Pharmacy of the Forest
Kawakawa (Piper excelsum) is arguably the most significant plant in Rongoā Māori (traditional Māori medicine). Often referred to as the “pharmacy of the forest,” this heart-shaped leaf is endemic to New Zealand and represents The Future of Integrative NZ Herbal Medicine, having been used for centuries to treat a myriad of ailments, from toothache and indigestion to serious skin conditions.
The effectiveness of a Kawakawa balm recipe lies in the plant’s chemical composition. Kawakawa contains myristicin, which provides mild analgesic (pain-relieving) properties, and di-yangambin, which exhibits significant anti-inflammatory and immunosuppressant effects. When applied topically, these compounds work synergistically to soothe irritated skin, reduce inflammation, and accelerate healing.
Creating your own balm is not just about following a set of instructions; it is a process of connecting with the land (whenua) and understanding the botanical properties that make this plant a powerhouse for natural health. Whether you are treating eczema, insect bites, or minor cuts, the quality of your final product depends heavily on how you respect and handle the raw materials.

Harvesting Protocols and Tikanga
Before you begin gathering ingredients, it is vital to understand the protocols, or Tikanga, associated with harvesting native plants in New Zealand. Rongoā is a holistic practice that encompasses spiritual, physical, and ecological dimensions.
Asking for Permission
Traditionally, one does not simply take from nature. It is customary to say a Karakia (prayer) or offer thanks to Tāne Mahuta (the guardian of the forest) before harvesting. This acknowledges the life force (mauri) of the plant and ensures you are harvesting with good intention.
Selecting the Right Leaves
Unlike many other herbal preparations where perfect leaves are sought, the best leaves for a Kawakawa balm recipe are those that have been eaten by the Kawakawa Looper Moth caterpillar (Cleora scriptaria). You should look for leaves with holes in them.
Why is this important? When the caterpillar attacks the leaf, the plant triggers a defense mechanism, releasing higher concentrations of secondary metabolites and medicinal oils to the affected area. Therefore, the “holey” leaves are chemically more potent than the pristine ones. Always harvest leaves that are mature but not decaying, and never strip a branch bare. Take only what you need, ensuring the tree can continue to thrive.
Ingredients and Equipment Checklist
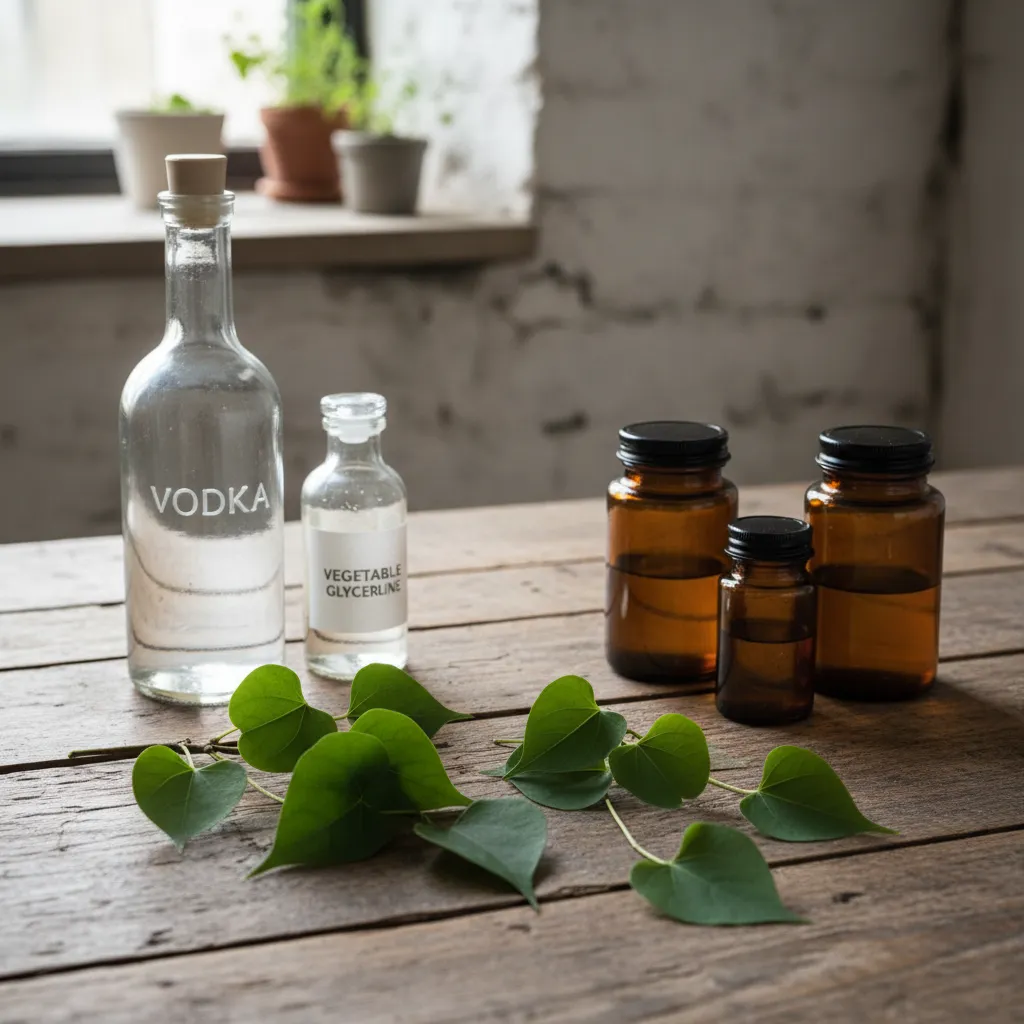
To produce a high-quality balm, you need to prepare your workspace and gather high-quality ingredients. The beauty of this balm is its simplicity; it does not require preservatives if made correctly, as it is an anhydrous (water-free) product.
The Ingredients
- Fresh Kawakawa Leaves: Approximately 20-30 medium-sized leaves. If you cannot harvest them fresh, dried leaves can be purchased from reputable herbal suppliers who understand Importing Herbal Ingredients into New Zealand: Regulations and Requirements.
- Carrier Oil (500ml): High-quality Cold Pressed Olive Oil is the traditional choice due to its stability and skin-nourishing properties. Alternatively, you can use Sweet Almond Oil (lighter absorption), Coconut Oil (antimicrobial), or Hemp Seed Oil (extra anti-inflammatory boost).
- Beeswax (60g – 100g): This acts as the hardener. Yellow beeswax retains the natural honey scent and benefits, while white beeswax is refined. Pastilles are easier to measure than blocks.
- Essential Oils (Optional): Manuka oil or Lavender oil can be added for additional antimicrobial properties and scent, though Kawakawa has a distinct, peppery aroma on its own.
- Vitamin E Oil (Optional): 1 teaspoon can act as an antioxidant to extend the shelf life of the oils.
The Equipment
- Double boiler (or a heat-proof glass bowl over a saucepan)
- Muslin cloth, cheesecloth, or a fine-mesh sieve for straining
- Sterilized glass jars or tins for the final product
- Wooden spoon or silicone spatula
- Kitchen scales
Step 1: Infusing the Kawakawa Oil
The most critical part of the Kawakawa balm recipe is the oil infusion. This process transfers the medicinal properties from the plant fibers into the carrier oil. There are two primary methods: the slow cold infusion and the heat infusion. For the purpose of making balm efficiently, we will focus on the heat infusion method using a double boiler, which is faster but requires care not to burn the oil.
Preparation of Leaves
If you have harvested fresh leaves, wash them gently to remove dust and insects, then lay them out to dry completely. Crucial Step: You must allow the leaves to wilt for 24-48 hours or dry them thoroughly. Introducing water (from fresh leaves) into your oil can cause the final balm to grow mold and spoil. The leaves should be limp and dry to the touch, not crispy, but devoid of surface moisture.
The Double Boiler Method
- Chop the Leaves: Roughly tear or chop the wilted leaves to increase the surface area. This helps the oil penetrate the plant cells.
- Combine: Place the leaves in the top of your double boiler and cover them with your chosen carrier oil. The oil should submerge the leaves completely.
- Heat Gently: Fill the bottom saucepan with water and bring it to a simmer. Place the bowl with oil and leaves on top. The water should not touch the bowl.
- Simmer: Let the oil infuse on low heat for 3 to 4 hours. The oil will turn a deep, vibrant green. Warning: Do not let the oil boil or smoke. High heat destroys the active enzymes and beneficial compounds. Keep the temperature below 50°C (122°F) if possible.
- Strain: Once infused, remove from heat. Line a sieve with muslin cloth and pour the oil through into a clean jug. Squeeze the cloth tightly to extract every drop of the precious potent oil trapped in the leaves.

Step 2: Combining with Beeswax and Setting
Once you have your “Liquid Gold” (infused Kawakawa oil), transforming it into a balm is a matter of chemistry and ratios. The amount of beeswax determines the consistency. A softer balm is better for massage, while a harder balm is better for a protective barrier.
The Golden Ratio
A standard starting ratio is approximately 1 cup (240ml) of infused oil to 1 ounce (approx. 28-30g) of beeswax. However, for a firmer salve that holds up in warmer weather, you may want to increase the beeswax to 40g per cup.
The Mixing Process
- Clean the Boiler: Wipe out your double boiler or use a clean heat-proof vessel.
- Melt the Wax: Pour your infused oil back into the double boiler and add the beeswax pellets. Gently heat until the beeswax has completely melted.
- The Spoon Test: To check the consistency before pouring, dip a cold metal spoon into the mixture and let it set for a minute. Touch it to see if it is too soft or too hard. Add more wax to harden, or more oil to soften, as needed.
- Add Extras: Remove the mixture from the heat. This is the moment to add Vitamin E oil or essential oils (like Manuka or Lavender) if you are using them. Adding them while the mixture is boiling will cause the volatile essential oils to evaporate.
- Pour: Carefully pour the liquid balm into your sterilized jars or tins.
- Cool: Allow the jars to sit undisturbed with the lids off until they are completely cool and solid. Capping them while warm can create condensation, which leads to spoilage.
Therapeutic Uses and Application
Your finished Kawakawa balm is a multi-purpose addition to any first aid kit. Due to the presence of myristicin, it acts as a mild analgesic, while the antimicrobial properties help prevent infection in minor wounds.
Common applications include:
- Eczema and Psoriasis: The balm creates a barrier that locks in moisture while reducing the itch-scratch cycle.
- Nappy Rash: A natural alternative to petroleum-based barrier creams for infants.
- Insect Bites: Reduces the swelling and itching of mosquito and sandfly bites.
- Minor Cuts and Grazes: Promotes faster healing and reduces scarring.
- Tattoo Aftercare: Excellent for keeping new tattoos moisturized and clean.
- Aching Joints: Massaging the balm into sore joints can help alleviate discomfort due to its anti-inflammatory nature.
For more detailed information on the botany and traditional uses of Piper excelsum, you can refer to the Wikipedia entry on Piper excelsum or resources provided by New Zealand’s Department of Conservation.
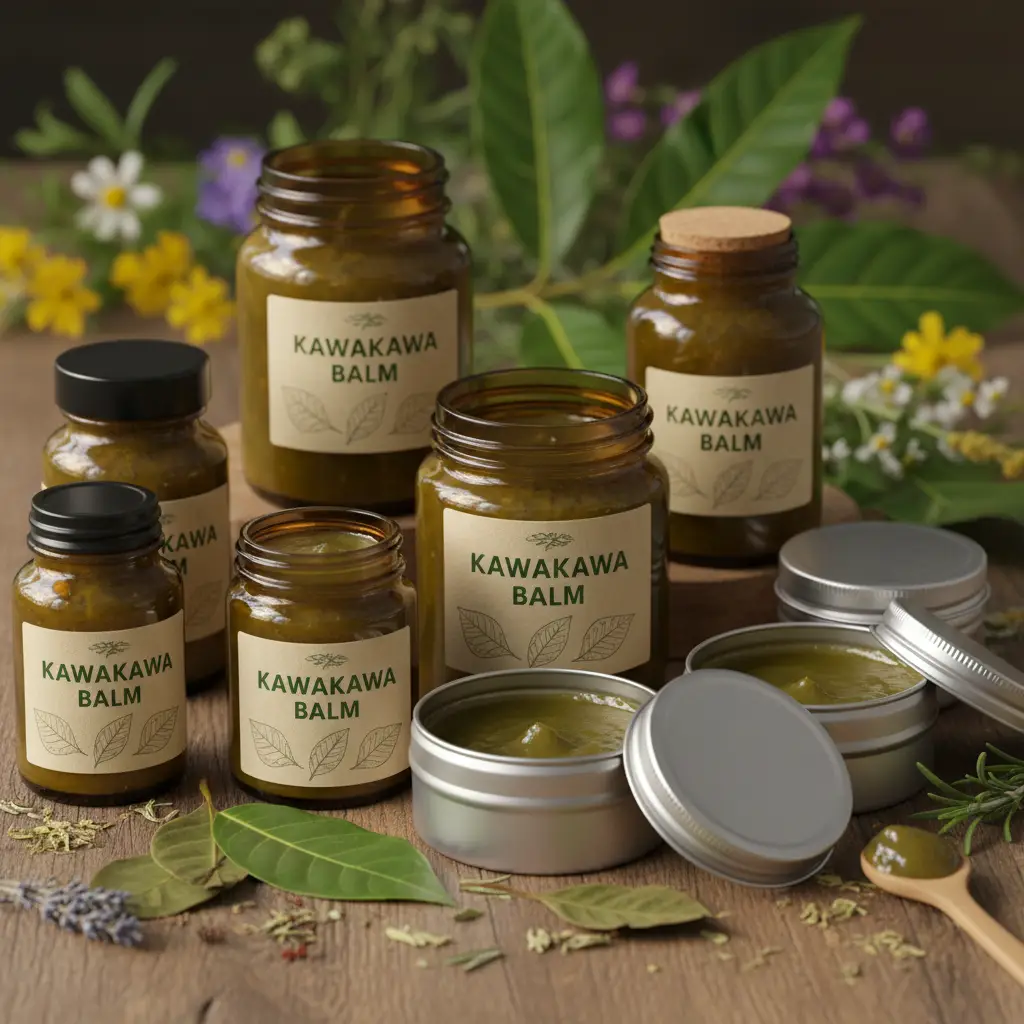
Storage, Shelf Life, and Troubleshooting
Proper storage ensures your hard work doesn’t go to waste. Because this recipe uses no water and includes beeswax (a natural preservative) and potentially Vitamin E, it is shelf-stable.
Storage Tips
Store your balm in a cool, dark place out of direct sunlight. Sunlight can degrade the chlorophyll and active compounds, turning your vibrant green balm pale and reducing its potency. If you live in a particularly hot climate, the balm may soften; you can store it in the refrigerator to maintain firmness.
Shelf Life
Generally, a homemade Kawakawa balm will last between 12 to 24 months. The limiting factor is usually the rancidity of the carrier oil. If you used fresh olive oil with a long expiry date, your balm will last accordingly. Always perform a “sniff test” before use if the jar has been sitting for a long time—if it smells like crayons or old oil, it is time to discard it.
Troubleshooting Common Issues
- Balm is too hard: You used too much beeswax. You can remelt the balm and add a tablespoon of plain oil to soften it.
- Balm is too soft/runny: Not enough beeswax. Remelt and add a few more pellets of wax.
- Condensation on the lid: You capped the jar before it was fully cool. Wipe the lid dry to prevent mold growth.
- Sediment at the bottom: This is fine; it is just small particles of the leaf that made it through the sieve. It adds to the rustic, authentic nature of the product.
By following this guide, you are participating in a tradition that honors the natural world. Making your own Kawakawa balm is a rewarding skill that provides you with a potent, natural remedy for your whānau (family).
People Also Ask
What parts of the Kawakawa plant are used for balm?
The leaves are the primary part used for making balm. Specifically, leaves that have holes eaten by the looper moth caterpillar are preferred, as the plant produces higher concentrations of medicinal compounds in response to the insect damage.
Can I use fresh Kawakawa leaves for infused oil?
Yes, but with caution. Fresh leaves contain water, which can cause the oil to go rancid or grow mold. It is best to let fresh leaves wilt for 24 to 48 hours to reduce moisture content before infusing them in oil.
How long does Kawakawa balm last?
When stored in a cool, dark place, Kawakawa balm typically lasts between 12 and 24 months. The shelf life depends on the freshness of the carrier oil used. Adding Vitamin E oil can help extend the shelf life by preventing oxidation.
Is Kawakawa balm safe for babies?
Yes, Kawakawa balm is generally considered very safe for babies and is a popular natural remedy for nappy rash, cradle cap, and eczema. However, always perform a patch test on a small area of skin first to ensure there is no allergic reaction.
What is the best carrier oil for Kawakawa balm?
Olive oil is the most traditional choice due to its stability and skin benefits. However, sweet almond oil, coconut oil, and hemp seed oil are also excellent options depending on your skin type and absorption preference.
Why is my Kawakawa balm gritty?
Grittiness can occur if the beeswax cools too quickly or unevenly while being mixed with the oil. To fix this, gently remelt the balm and stir continuously while it cools down to ensure a smooth, homogenized texture.