Drying herbs NZ involves removing moisture from plant material—such as Kawakawa, Kumarahou, or culinary varieties—to preserve their medicinal potency and flavor for long-term storage. The most effective methods shared on our Home page include air drying in a warm, dark, and well-ventilated space, or using a food dehydrator at low temperatures (35–40°C) to prevent volatile oil loss, ensuring your rongoā remains effective throughout the year.
The Importance of Proper Preservation in Aotearoa
For herbalists and home gardeners in New Zealand, the transition from a lush summer garden to a well-stocked winter apothecary is a critical seasonal rhythm. Whether you are preserving culinary herbs like oregano and thyme, or preparing traditional Rongoā Māori (Māori medicine) like Kawakawa and Manuka, the goal remains the same: to lock in the plant’s chemical constituents before decomposition sets in.
New Zealand presents unique challenges for drying herbs due to our variable climate. High humidity, particularly in the North Island, can make traditional air-drying methods risky if not managed correctly. Moisture is the enemy of preservation; even a small amount of residual water can lead to mold growth, rendering an entire harvest unsafe for consumption. Therefore, understanding the specific environmental conditions of your region is just as important as the drying technique you choose.
Proper drying is not merely about desiccation; it is about halting enzymatic degradation. When done correctly, the medicinal properties—volatile oils, alkaloids, and tannins—are suspended in a stable state, ready to be reactivated when steeped in hot water or macerated in alcohol.
Tikanga and Harvesting: The Foundation of Quality
Before the drying process begins, the quality of the final product is determined by how the plant is harvested. In the context of the NZ Integrated Herbal Medicine & Rongoā Māori Hub, it is essential to acknowledge the Tikanga (cultural protocols) associated with harvesting native plants.
Harvesting is an exchange with nature. It is customary to offer a karakia (prayer) or acknowledgement to the forest (Te Wao Nui a Tāne) before taking plant material. This sets an intention of respect and gratitude. Furthermore, sustainability is paramount. You should never strip a plant bare; a general rule is to take no more than you need and ensure the plant has ample foliage left to photosynthesize and regenerate.
Optimal Timing
The time of day you harvest significantly impacts the potency of your dried herbs. The ideal window is:
- After the morning dew has evaporated: Harvesting wet herbs increases the drying time and the risk of mold.
- Before the midday sun peaks: Intense heat can cause volatile oils (the aromatic medicinal compounds) to evaporate before you even get the plants indoors.
Inspect every leaf as you pick it. Discard any material that shows signs of insect damage, fungal rust, or bird droppings. You want to dry only the pristine parts of the plant.
Primary Methods for Drying Herbs
There are several ways to dry herbs, but in New Zealand’s climate, some are more reliable than others. The method you choose should depend on the water content of the herb and the humidity of your environment.
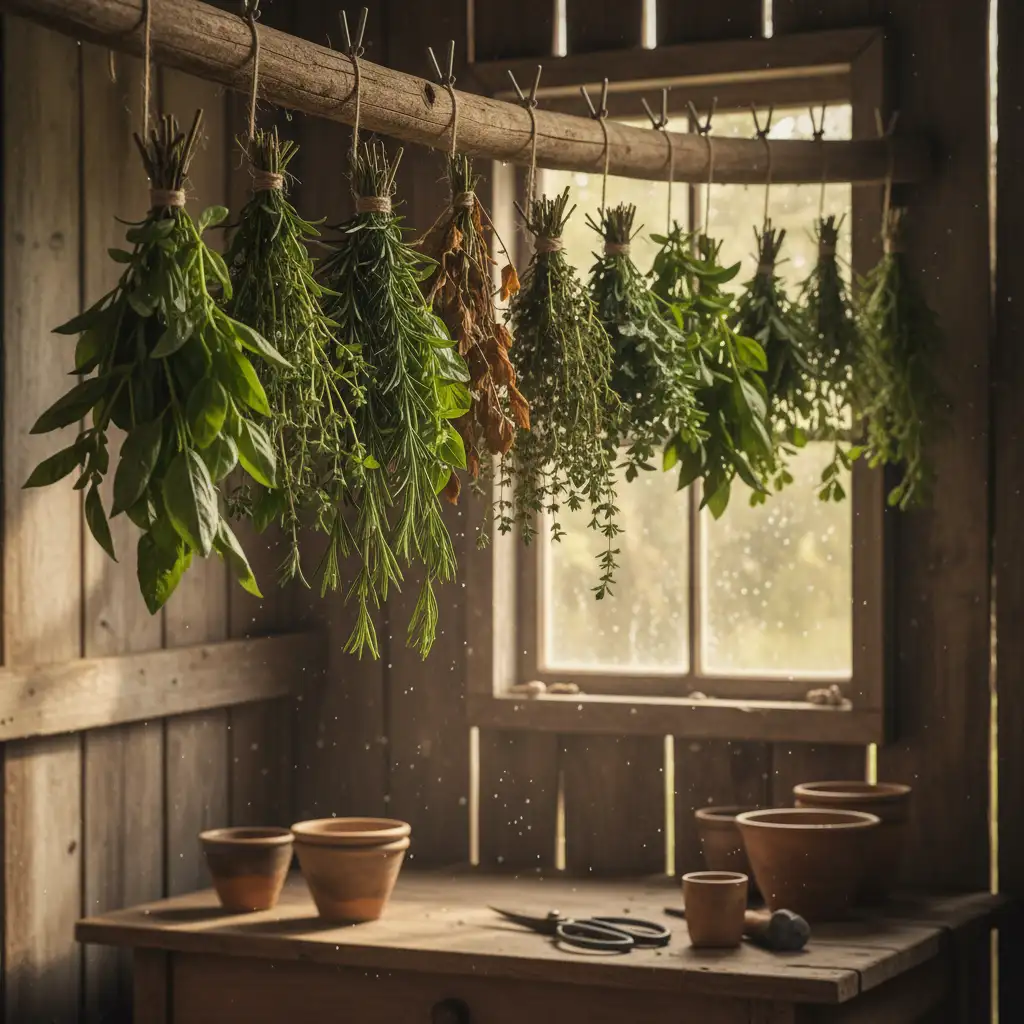
1. Air Drying (The Traditional Method)
Air drying is the most ancient and energy-efficient method. It works best for low-moisture herbs like rosemary, thyme, and sage, and in regions with lower humidity (such as Central Otago or Canterbury summers).
To air dry successfully:
- Bundle: Tie small bunches of stems together with rubber bands. Rubber bands are superior to string because the stems shrink as they dry; the elastic will contract with them, preventing the herbs from slipping out.
- Hang: Suspend the bundles upside down in a warm, dry, and well-ventilated room. Good airflow is non-negotiable.
- Protect: Keep them out of direct sunlight. UV rays bleach the color of the leaves and degrade the medicinal compounds rapidly. If dust is a concern, place a paper bag with ventilation holes over the bundle.
2. Using a Food Dehydrator
For many NZ herbalists, especially those in humid areas like Auckland or Northland, a food dehydrator is the gold standard. It provides a controlled environment that removes moisture consistently, regardless of the weather outside.
Temperature Control is Critical: You must use the lowest setting possible, typically between 35°C and 40°C (95°F–105°F). If the temperature exceeds 45°C, you risk “cooking” the herb, which destroys delicate essential oils and changes the flavor profile. Dehydrators are particularly excellent for roots (like Dandelion or Dock) and high-moisture leaves.
3. Drying Racks
If you do not have a dehydrator but have plenty of space, drying racks (wooden frames with muslin or mesh screens) are excellent. You lay the leaves out in a single layer. This method requires turning the leaves daily to ensure even drying. It is ideal for leaves that have been stripped from the stem or for drying flower heads like Calendula or Chamomile.
Drying Native NZ Plants (Rongoā Māori)
Native plants often have different structural characteristics compared to common European culinary herbs, such as Harakeke (Flax): Modern Research on Its Medicinal Properties. Specific care must be taken when processing these taonga (treasures).
Kawakawa (Macropiper excelsum)
Kawakawa leaves are thick, fleshy, and contain a high water content. If you attempt to air-dry Kawakawa in a humid garage, it will often turn black or moldy before it dries crisp.
Best approach: Use a dehydrator or a very warm, dry hot water cupboard. Ensure the leaves are not overlapping. The stems are very thick and hold moisture longest; it is often best to remove the stems before drying if you intend to use the leaves for tea.
Kumarahou (Pomaderris kumeraho)
Kumarahou is often harvested for both its leaves and its yellow flowers. The flowers are delicate and can turn into a powdery mess if handled roughly.
Best approach: Air drying works well for Kumarahou as the leaves are leathery but less fleshy than Kawakawa. Drying on racks is preferable to hanging bundles to prevent the flowers from being crushed.
Mānuka (Leptospermum scoparium)
Mānuka leaves are small and dry relatively quickly. However, the woody stems are tough.
Best approach: Air drying in bundles is usually sufficient. Once dry, the small leaves can be easily stripped from the woody branches by running your hand down the stem over a collection bowl.
For more detailed botanical identification and conservation status, see Rātā: Traditional Uses & Phytochemical Analysis.ese plants, you can consult the Department of Conservation (DOC) website to ensure you are harvesting sustainable species.

The Critical “Crackle Test”
How do you know when your herbs are truly dry? You must perform the “Crackle Test.”
Herbs are ready for storage only when they are crisp and brittle. If you take a leaf and bend it, it should snap or crumble immediately. If it bends, folds, or feels cool to the touch, it still contains moisture. Stems should snap cleanly rather than bending.
The Conditioning Phase: Even if you think they are dry, it is wise to “condition” your herbs. Place the dried herbs in a glass jar, seal it, and leave it in a warm place for 24 hours. If you see any condensation (fog) appear on the inside of the glass, there is still moisture present. You must immediately remove the herbs and dry them further. If you ignore this condensation, the entire jar will mold.
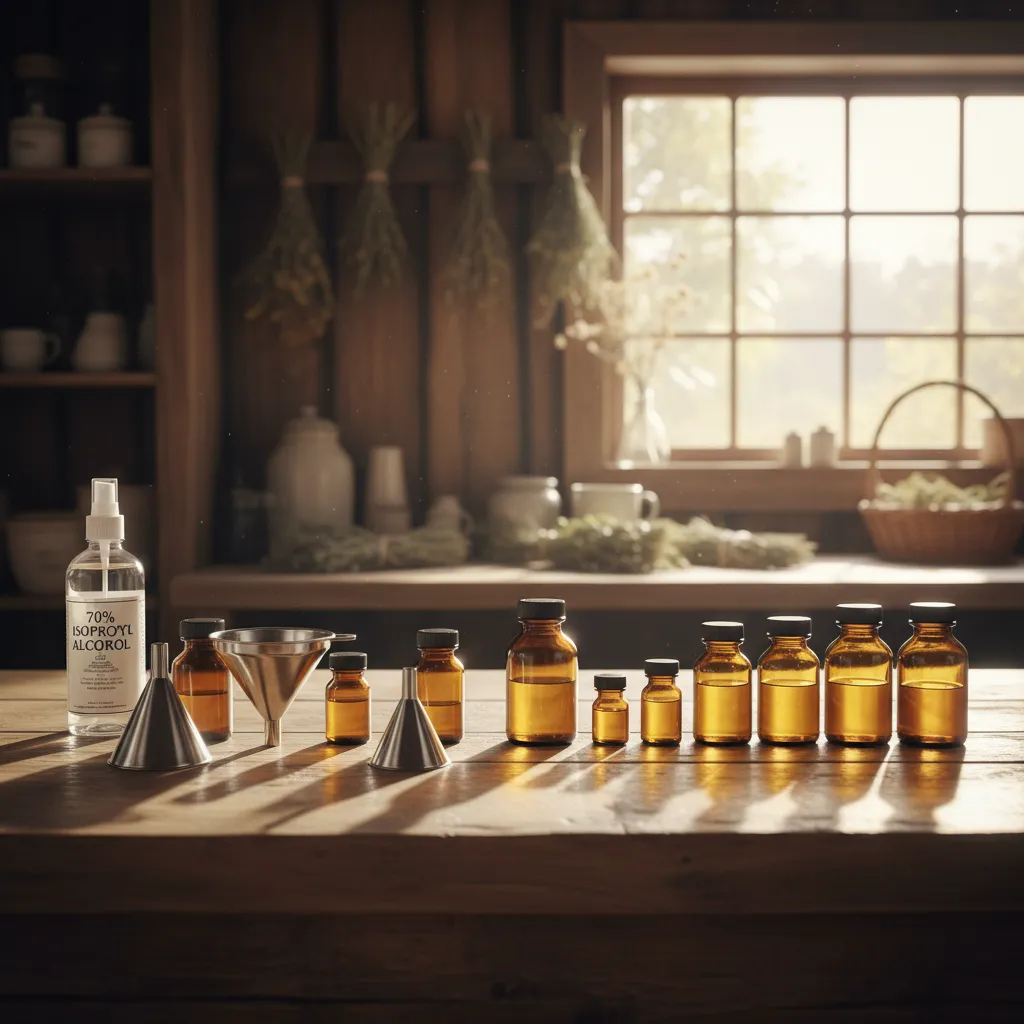
Packaging, Labeling, and Storage
Once your herbs have passed the crackle test and conditioning phase, they are ready for long-term storage. The goal now is to protect them from the four enemies of preservation: Light, Air, Heat, and Moisture.
Choosing the Right Containers
Glass is the superior material for herbal storage. Unlike plastic, glass is non-porous and will not leach chemicals into your medicine, nor will it absorb the strong odors of aromatic herbs.
Amber Glass: Dark amber or cobalt blue jars are ideal because they filter out UV light, which degrades chlorophyll and potency. If you only have clear jars, you must store them inside a dark cupboard.
Labeling Protocols
It is easy to forget what is in a jar six months later. A proper label should include:
- Common Name: (e.g., Kawakawa)
- Botanical Name: (e.g., Macropiper excelsum) – helpful for precision.
- Part Used: (e.g., Leaf, Root, Flower)
- Date of Harvest: Crucial for tracking shelf life.
- Source: (e.g., “Backyard” or “Waitakere Ranges”)

Maintaining Potency and Preventing Spoilage
Dried herbs do not last forever. Over time, oxygen and light will slowly break down the cellular structure of the plant material.
Expected Shelf Life
As a general rule regarding herbal medicine storage:
- Leaves and Flowers: 1 year. Ideally, you harvest enough to last you until the next growing season.
- Roots and Barks: 2 to 3 years. These denser materials hold their potency longer.
Signs of Spoilage
When you open a jar of dried herbs, use your senses.
Smell: It should smell aromatic and characteristic of the fresh plant. If it smells musty, dusty, or has no smell at all, it is past its prime.
Color: The color should be vibrant (green leaves should still look green, not brown). Faded color indicates oxidation.
Insects: Look for pantry moths or weevils. If you find infestation, the contents must be composted.
By following these protocols, you ensure that your New Zealand medicine cabinet is stocked with potent, safe, and effective remedies, honoring the land from which they came.
People Also Ask
How long does it take to dry fresh herbs?
The time varies by method and humidity. In a dehydrator at 35°C, it typically takes 12 to 24 hours. Air drying in New Zealand can take anywhere from 5 days to 2 weeks depending on the thickness of the leaf and the ambient humidity.
Is it better to dry herbs in the sun or shade?
Always dry herbs in the shade. Direct sunlight destroys the essential oils, bleaches the color, and reduces the medicinal potency. A warm, dark, and well-ventilated area is best.
Can I dry herbs in the microwave?
While possible for small culinary amounts, it is not recommended for medicinal herbs. Microwaves cook the herb unevenly and at high temperatures, which destroys the beneficial enzymes and volatile oils.
How do you dry Kawakawa leaves properly?
Because Kawakawa is fleshy, it is best dried in a dehydrator or a hot water cupboard. Remove the stems to speed up the process and ensure the leaves are crisp and crackle before storing to prevent mold.
What temperature should I dehydrate herbs at?
Herbs should be dehydrated at low temperatures, ideally between 35°C and 40°C (95°F–105°F). Higher temperatures will cook the herbs rather than drying them, leading to a loss of flavor and medicinal value.
Do dried herbs lose their medicinal value?
Dried herbs retain most of their medicinal value if dried and stored correctly, though they are generally less potent than fresh herbs. However, potency degrades over time; leaves and flowers are best used within one year.